How to use Coinbase: the 2026 beginner's guide
Coinbase is often the first door beginners walk through into crypto: a clean interface, a polished mobile app, a solid reputation. But behind that simplicity hides a trap many people miss: the fees on the "simple" buy are high. This guide walks you through it step by step: from creating your account to buying your first Bitcoin, all the way to the Advanced mode that will make you pay far lower fees. Take your time, follow each step, and you will be up and running in under thirty minutes.
Transparency: this article contains affiliate links to partner exchanges (XT, MEXC). This does not change the price you pay and does not influence our advice. We always explain what serves your interest as a beginner first.
Why Coinbase to get started?
Coinbase is one of the most well-known exchanges in the world, listed on the U.S. stock market. For a beginner, it ticks several good boxes: a very accessible interface, a mobile app among the most intuitive on the market, regulatory compliance taken seriously, euro deposits via SEPA and a complete learning center. It is a reassuring, low-friction place to make your very first purchase. We explain why in our complete verdict on the exchange.
One essential note before we begin: an exchange is not a vault. It is a tool to buy, sell and trade. As soon as you hold amounts you do not plan to trade actively, the goal will be to move them to a wallet you control. We will come back to this in the final step.
Step 1, Create a Coinbase account
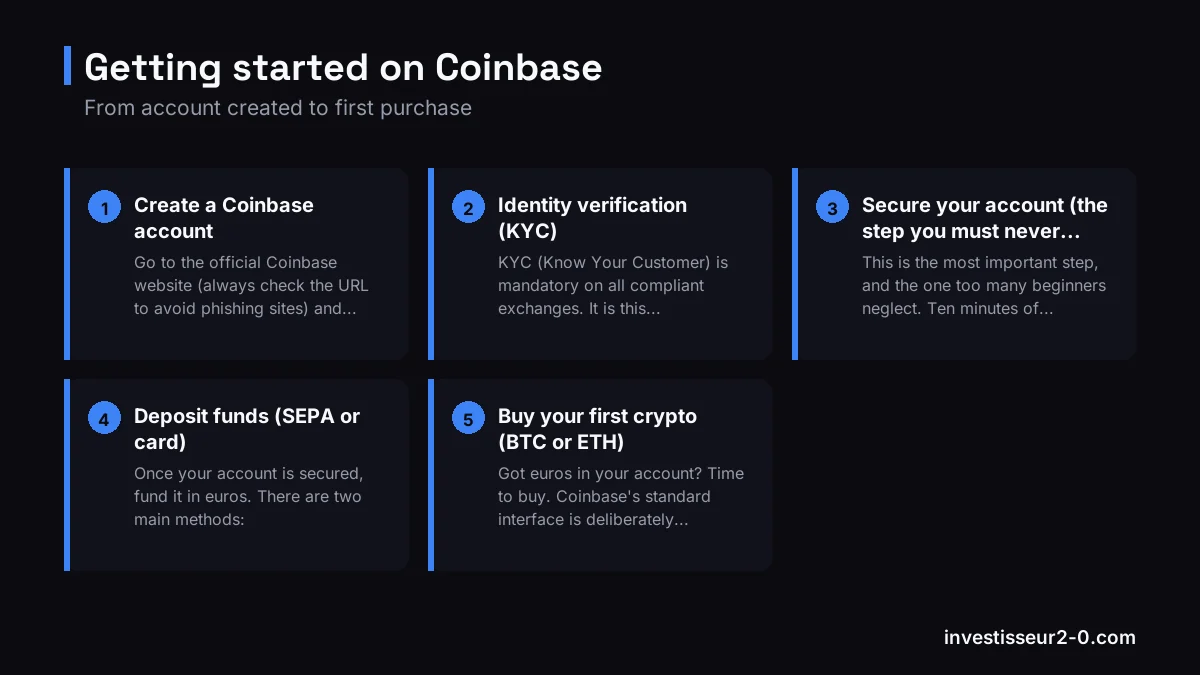
Go to the official Coinbase website (always check the URL to avoid phishing sites) and click "Get started" or "Sign up". You create an account with an email address, your name and a password. Choose an email you have permanent access to and create a long, unique password, ideally generated by a password manager.
Best practices right from sign-up
- Use a password you do not reuse anywhere else.
- Be wary of ads: type the address yourself rather than clicking a link received by email or SMS.
- Confirm the verification link sent to your inbox to activate the account.
Step 2, Identity verification (KYC)
KYC (Know Your Customer) is mandatory on all compliant exchanges. It is this verification that unlocks euro deposits, crypto purchases and withdrawals. In practice, Coinbase will ask for your name, date of birth and address, then a photo of your ID document (ID card or passport) and a selfie to confirm it is really you.
Verification is usually approved within a few minutes to a few hours. Tip: take the photos in good light, without glare, with the document fully visible. Once KYC is approved, your account is fully functional.
Step 3, Secure your account (the step you must never skip)
This is the most important step, and the one too many beginners neglect. Ten minutes of settings protect you for the long run. Before you even deposit a single euro, configure these protections.
Enable 2FA (two-factor authentication)
2FA adds a temporary code to your password on every login and withdrawal. Favor an authenticator app (Google Authenticator, Authy) rather than SMS, which is more vulnerable to "SIM swapping". Carefully store the recovery key offline: without it, you could lose access to your account.
Strengthen the security settings
Coinbase offers several advanced settings: account locking, authorized-device management and, depending on the region, withdrawal address locking. Turn on everything available. And remember one simple rule: the real Coinbase support will never ask for your password or your 2FA codes.
Anti-scam reflexes
- Never share your 2FA codes or your password, even with a "support" agent who contacts you.
- Be wary of SMS and emails impersonating Coinbase: always check the sender address.
- Never install remote-control software at the request of a stranger.
Step 4, Deposit funds (SEPA or card)
Once your account is secured, fund it in euros. There are two main methods:
- SEPA transfer: the recommended method. Fees are zero or near zero, but the transfer can take from a few hours to one business day. Ideal for medium to large amounts.
- Bank card: instant, but with higher fees. Handy for a first small purchase or if you are in a hurry.
To get started, deposit a modest amount, the one you are comfortable setting aside without stress. The goal of the first days is to learn the interface, not to chase a quick gain.
Step 5, Buy your first crypto (BTC or ETH)
Got euros in your account? Time to buy. Coinbase's standard interface is deliberately simple: you click "Buy", choose the crypto (Bitcoin or Ethereum to start), enter the amount in euros, and confirm.
For your first purchases, stick to established assets like Bitcoin (BTC) or Ethereum (ETH), the most liquid and least volatile assets in the crypto market. Avoid exotic altcoins until you feel comfortable. But be careful: this "simple" buy has a hidden cost that we tackle right away.
Step 6, The key point: switch to Advanced mode to pay lower fees
This is the most important point of this guide, and the one that sets the savvy beginner apart from the rest. Coinbase's simple buy interface is convenient, but it applies a markup and relatively high fees on every transaction. Buying through that interface means paying for convenience.
The good news: Coinbase includes a free professional interface called Coinbase Advanced (formerly Coinbase Pro). It gives you access to the order book and much lower fees, often around 0.4 to 0.6% maker/taker, versus several percent on a simple buy. Over the long run, the difference is enormous. Our full anatomy of Coinbase pricing shows just how much that switch saves you.
How to switch to Advanced mode
- From the app or the website, look for the "Advanced Trade" tab.
- Select the pair you are interested in, for example BTC/EUR or ETH/EUR.
- Choose your order type (see below), enter the amount and confirm.
Market order vs limit order
In Advanced, you will encounter two order types. A market order executes immediately at the best available price: simple and fast, but with no control over the exact price. A limit order lets you set the price at which you want to buy or sell: it only executes if the market reaches that price. For a beginner, a market order is more than enough on BTC and ETH, whose liquidity makes slippage negligible. If you plan to move toward active trading, our crypto trading risk management guide is essential reading before you take positions.
Step 7, Withdraw and secure in a cold wallet
Here is the golden rule every serious investor applies: only keep on an exchange the capital you are actively using. The rest should be transferred to a wallet where you control the private keys, a hardware "cold wallet" like a Ledger or a Trezor.
An exchange, however solid, remains a target and a single point of failure. The history of crypto is littered with platforms that went bankrupt or were hacked. The saying "not your keys, not your coins" sums it up: as long as the crypto sits on the exchange, you are not the one who truly holds the keys.
To withdraw, go to "Send" or "Withdraw", select the crypto, paste your wallet address (check it twice), choose the correct network and confirm with your 2FA. Our dedicated guide on how to secure your crypto covers cold wallets, 2FA and seed phrases in detail.
Going further
You now know how to create an account, secure it, deposit euros, buy your first crypto while paying the lowest possible fees, and put it in a safe place. That is the essential foundation to start calmly. But buying a crypto is only the beginning: the real challenge is knowing what to buy, when, and how to manage risk.
That is exactly what we share every day in our community. Before scattering yourself across ten platforms, join our Telegram channel first: you will find clear analyses, a methodical framework and a community of beginners and seasoned investors alike.
And after Coinbase? Reduced fees and altcoins
Coinbase is an excellent starting point, especially in Advanced mode. But as you progress, many of our members round out their setup. Members based outside the EU who want reduced fees and altcoin trading with a broader catalog use XT (VIP2 status via our link, meaning some of the lowest futures fees on the market) or our MEXC bonus offer for a wide token selection. A word of caution before you click: since 2026-07-01 neither XT nor MEXC opens accounts for EU residents, so these two perks only apply to members living elsewhere. Both are affiliate links that earn us a commission, and crypto trading can wipe out your deposit. EU-based members instead pair Coinbase with a MiCA-licensed venue like Bybit or OKX, or browse the alternatives worth a second account.
But keep the order of priorities in mind: community first, exchange second. Stacking up platforms without a method serves no purpose. Start with Coinbase, learn the basics, join the channel, then expand your arsenal when your needs call for it.
FAQ
Is Coinbase available and legal in Europe in 2026?
Yes. Coinbase is registered as a crypto-asset service provider and aligns with the European MiCA regulation. European residents can open an account, complete KYC, deposit euros via SEPA and buy crypto legally.
How much do you need to get started on Coinbase?
Very little. The minimum SEPA deposit is just a few euros and you can buy Bitcoin or Ethereum from a few euros. Start small while you master the interface, before investing more.
What is the difference between Coinbase simple and Coinbase Advanced?
The simple interface is quick but applies a markup and high fees on each purchase. Advanced mode gives access to the order book with much lower fees (often around 0.4 to 0.6% maker/taker). To pay less, always go through Advanced.
Is KYC verification on Coinbase mandatory?
Yes. To deposit euros, buy crypto and withdraw, you must complete identity verification (KYC) with an ID document and a selfie. This is a regulatory requirement common to all compliant exchanges.
Should you keep your crypto on Coinbase?
No, not for the long term. Only keep on the exchange the capital needed for active trading. For everything else, transfer your crypto to a cold wallet (Ledger, Trezor) where you control the keys. Not your keys, not your coins.
How do you effectively secure your Coinbase account?
Enable 2FA via an app like Google Authenticator rather than SMS, use a strong and unique password, and turn on withdrawal address locking when available. Ten minutes of settings that protect your funds for the long run.