Crypto exchange liquidations: mechanism and how to avoid them
A liquidation wipes your position in seconds. It does not happen by bad luck. It happens because the exchange is recovering its loan. Understanding the mechanism is the first step to never getting liquidated again.
Prerequisite: this article assumes you already know how leverage works in futures. If not, start with the Crypto futures leverage, capital efficiency lesson which lays the foundations (engaged margin, liquidation price formula, calibration). This article digs into what happens next: the exact mechanism of liquidations and how to never reach them. For the end-to-end overview, see our perpetuals trading guide.
The higher the leverage, the tighter the liquidation price hugs the entry. Once hit, forced sell volume drives price toward the next levels, the cascade.
How does a liquidation work?
When you trade with leverage on an exchange (Binance Futures, Bybit, OKX…), you borrow money from the exchange to scale your position. In return, the exchange holds your margin (collateral) as a guarantee.
If the market moves against you and losses reach a certain threshold, the exchange automatically closes your position to recover its loan before your losses exceed your margin. That is the liquidation.
Concretely, before forced liquidation there is often a margin call: the exchange notifies you that your available margin is insufficient and asks you to top up. If you don't, the position gets liquidated.
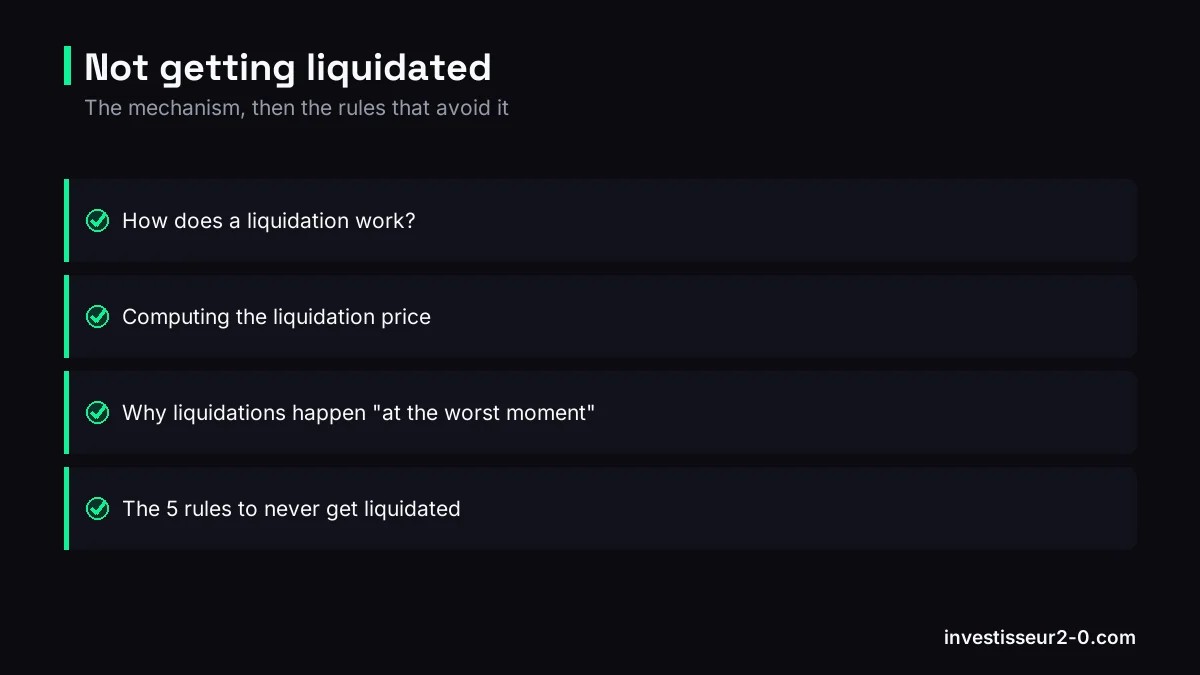
Computing the liquidation price
The price at which you'll be liquidated depends on your leverage and entry margin. In isolated margin mode, only the margin allocated to that specific position is at risk. In cross margin mode, all your positions share the same margin pool, and a single losing position can trigger cascade liquidations.
Simplified formula for an isolated long position:
Liquidation price ≈ entry price × (1 - 1/leverage + maintenance rate)
Example: you long BTC at $80,000 with 10× leverage. Your margin is 10% of notional. The liquidation price will be approximately 80,000 × (1 − 1/10) = $72,000 (before maintenance fees, which lower the threshold slightly).
Key pedagogical point: what liquidates you isn't the chosen leverage itself, it's the distance between your entry price and the liquidation price. That distance is the inverse of leverage (≈ 1/leverage). With a technical stop placed well before that threshold and an engaged margin calibrated against your total capital (the 1% rule), you can trade x10, x50 or x100 with no more risk than a spot trade. See the Crypto futures leverage lesson for the exact viable max leverage formula based on your stop.
On most exchanges, your liquidation price is shown directly in the open-position interface, so check it before confirming any trade. The same liquidation engine logic applies on decentralized venues too: trade on the decentralized exchange dYdX and your on-chain perp position can still be force-closed once the maintenance margin is breached.
Why liquidations happen "at the worst moment"
It is not a coincidence. Exchanges publish liquidation data in real time (liquidation heatmaps). Market makers and whales use that data to identify where leveraged positions accumulate, then deliberately engineer sweeps into those zones.
The phenomenon is amplified by cascade liquidations: when price hits a first liquidation level, forced positions create extra sell volume, pushing price lower and triggering more liquidations, and so on. That is what explains the brutal, fast drops (-15% in 30 minutes) typical of crypto.
Tools like Coinglass let you visualize concentrated BTC liquidation levels, the zones where these cascades are statistically more likely. Knowing where these levels sit helps you avoid placing yourself right above them.
The 5 rules to never get liquidated
1. Calibrate your engaged margin, not your leverage
The max available leverage (up to x100 or x200 depending on the exchange) doesn't matter on its own. What defines your risk is the margin you engage relative to your total capital. Trade $10 in x100 or $100 in x10 on BTC: same trade, same notional exposed ($1,000), same P&L, same max loss.
The real rule comes from sizing: you accept 1% risk per trade against your total capital (the 1% rule), you know your technical stop distance, and you derive the max tolerable notional from that. The leverage you pick is just the tool that lets you deploy that notional without locking up 10× the corresponding capital. See Crypto futures leverage for the full calculation and the matrix of viable max leverages per style (swing: x20-x30, intra-day: x40-x65, scalp: x80-x125).
The classic beginner mistake is scaling margin with leverage: seeing "x100 available" and engaging 30% of capital on x100, creating a monstrous notional that a 1% wick is enough to liquidate. The x100 isn't at fault, the 30% engaged is.
2. Pick cross or isolated based on what your SL actually means
In cross margin, your free balance protects the position, so your technical stop placed per the chart (under the OB, under the sweep, behind the last swing's wick) executes before forced liquidation has anything to do. It's the mode for a technical trader who wants chart-based invalidation to determine the exit. In isolated margin with high leverage, your technical stop at -3% or -5% doesn't execute, because forced liquidation triggers at 1/leverage % before the stop is touched. You then play your engaged margin like a fixed budget, without real technical protection.
The only real danger of cross is stacking multiple correlated positions (4 longs on BTC + ETH + SOL + an alt) that all consume the same global balance and cascade- liquidate. On a single position, cross is coherent. If you still want to use isolated with a real technical stop, keep leverage low enough that liquidation sits behind your stop (formula in rule #3).
3. Place your stop-loss before the liquidation price
Your stop-loss must trigger before you hit the liquidation price, with a 0.3 to 0.5% buffer to absorb execution wicks. If your stop is at −8% and liquidation at −10%, you only have 2% margin, insufficient in case of a gap. The guardrail formula: max_leverage ≈ 1 / (stop_distance_% + buffer + fees). With a 2% stop and 0.5% buffer, your viable max leverage is ~x40. Above that, your liquidation triggers before your stop and you lose 100% of engaged margin without protection.
4. Never feed a losing position
Adding margin to push back the liquidation price of a losing position is one of the most expensive mistakes in trading. It turns a small managed loss into a catastrophic one. If your trade thesis was wrong, exit. Don't keep it artificially alive.
5. Avoid trading high-volatility moments with high leverage
Macro releases, FOMC, inflation prints, influencer tweets all create sharp moves that can hit your liquidation levels in seconds even on a clean setup. If you have leveraged positions, reduce or close them before these events. Alternatively, lower your leverage (and therefore your notional) for the duration of the event while keeping your engaged margin constant.
Liquidation heatmaps: an under-used tool
Coinglass and CryptoQuant publish liquidation heatmaps showing where leveraged positions accumulate on BTC and major altcoins. These zones are the next targets for market makers, so avoid placing stops there, and treat them as institutional liquidity zones to watch for counter-trend entries after the sweep.
Our 2026 methodology embeds liquidation heatmap reading as one of the entry validation filters, precisely because these are zones where reversal probabilities are high once the sweep is done.
Can you get refunded after a liquidation?
On exchanges using an insurance fund (Binance, Bybit, OKX), if the liquidation is executed at a more favorable price than the theoretical liquidation price, the excess can be returned to you. In practice, during cascade liquidations, prices are often executed at less favorable levels than expected (slippage). In that case, the insurance fund covers the difference, and you get nothing back.
Bottom line: liquidation is a total loss of the engaged margin. The only reliable strategy is never to reach it.